Applying Conditional Tags to Text
Conditional tags allow you to control which information is displayed in each published Flare project. For example, you can tag a piece of information in a topic so that it is displayed for one target, and hidden in another. This is useful when publishing multiple versions of the same project, such as a beginner’s and advanced user’s manual, or a print and online guide. After you apply condition tags to text, you must associate each tag with a target. For more information on associating a condition tags with a target, see "Including and Excluding Conditional Text in a Target."
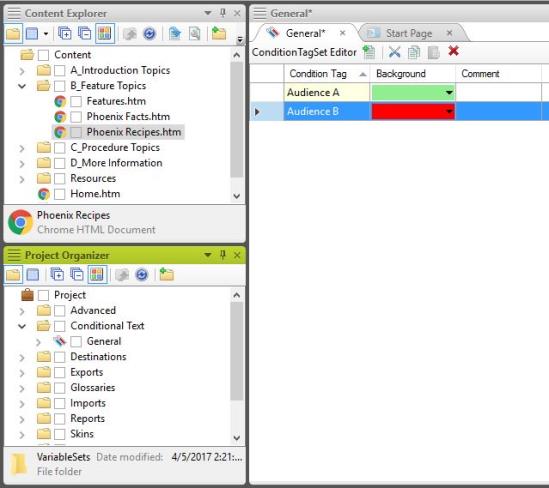
- Double-click General in the Conditional Text folder in the Project Organizer. The Condition Tag Set Editor appears.
- Double-click on a cell in the Condition Tag column and replace the text inside with a name for the condition (for example, “beginner” or “print only”).
- Select a color to associate with the condition tag in the corresponding drop-down menu in the Background column.
- Repeat steps 2 and 3 for each condition tag you want to use in the project. If you want to create a new tag, click the New item icon at the top of the Condition Tag Set Editor.
- Open the topic which contains the content you want to apply a condition tag to.
- Select the text which you want to apply a condition tag to.
- Right-click the selected content. A context menu appears.
- Select Conditions. The Conditions window appears.
- Select the box next to the condition tag you want to apply.
- Click OK.